Although I can't remember which book or books I read this trick in, it appeared when I needed it, which is what matters.
I do a lot of blocked hats, that are steamed or wet and shaped over a hat block, usually out of felt or straw. Sometimes I make sewn hats too, but they are usually berets or other styles that don't follow the shape of the head. So it was only when working on a couple of toddler hats, with a self-drafted and not that great pattern, that I remembered that you can also block these hats, after sewing.
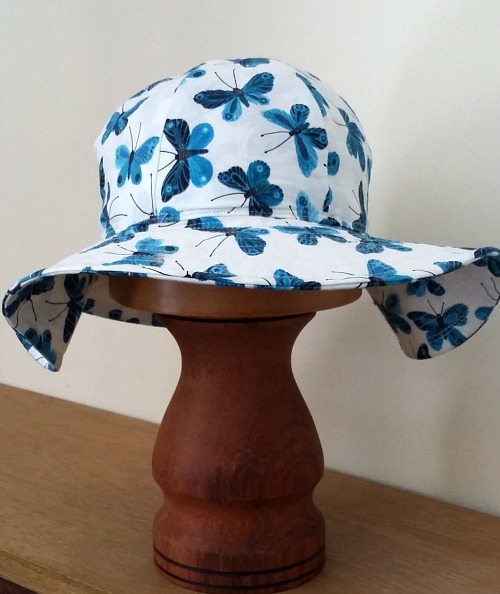
Basically, after sewing together the pieces of a sectional crown, like on this sun hat, you wet the fabric (or steam it, whichever is appropriate for the fabric) pull it down over a hat block, and leave it to dry (keeping in place with an elastic band if necessary). It helps smooth out any issues with an imperfect pattern, and gives a really rounded look to the end product. Depending on your fabric type, the results will vary.
The first hat I tried it on was this pink fleece pig hat (photo courtesy of @herohappymail on Instagram - a great project, by the way, supporting kids that are having a rough time for various reasons). I've improved my pattern since then, but the fleece was so stretchy and obliging that I managed a really round crown despite any issues in the shape as originally sewn.
When I went to regular cotton, the fabric was not so forgiving. It was actually a great way to work on the pattern though, because the blocking really showed exactly where the lines needed to be changed. I ended up using the first version as the lining and the adjusted pattern to make the outside crown.
So you do need something to block on, and I don't recommend using your own head unless you want to wear a wet hat all day. Hat blocks are of course great, but foam display heads are a possibility (although they are often quite small).
 |
| No cameras! I'm covered in risotto! |
I'm really glad I remembered, and finally tried, this little trick, and I'm sure I'll find ways to use it again. Maybe it will stick in your brain until you one day need it too!


Awww, how cute! And isn't it funny how memory works? At least you remember relevant things - I'm carrying around hundreds of facts from historical romance novels that I read when I was a kid that may or may not even be true.
ReplyDeleteHaha! I'm probably carrying plenty of useless things too!
DeleteI've just sewn my very first hat (I'm yet to show it on the blog!) and I think this would help get a more perfect shape. It's not all that bad at the moment but I think this would just give it that more professional finish, so thanks for the tip. Now I just need to find a cheap hat block!
ReplyDeleteOh I can't wait to see it! And a hat block, seriously, is a wonderful investment. While it opens up a lot of doors in terms of hat making, it will also be such a great help for reshaping vintage hats that have lost their shape.
DeleteOh yes, I hadn't thought of that. Maybe I'll add one to my Christmas list to Santa! xx
DeleteThis is a great idea! Blocking is often so essential for crochet projects, to give them a nicer finish, but I'm not sure I'd have thought to do that for a fabric hat.
ReplyDeleteI was aware it was a thing in crochet and knitting but I wouldn't have made a connection. It does wonders though!
DeleteVery cute
ReplyDeleteThank you! At least she is willing to wear it!
DeleteI love that you make such a range of styles
ReplyDelete